Blizzful Buzz
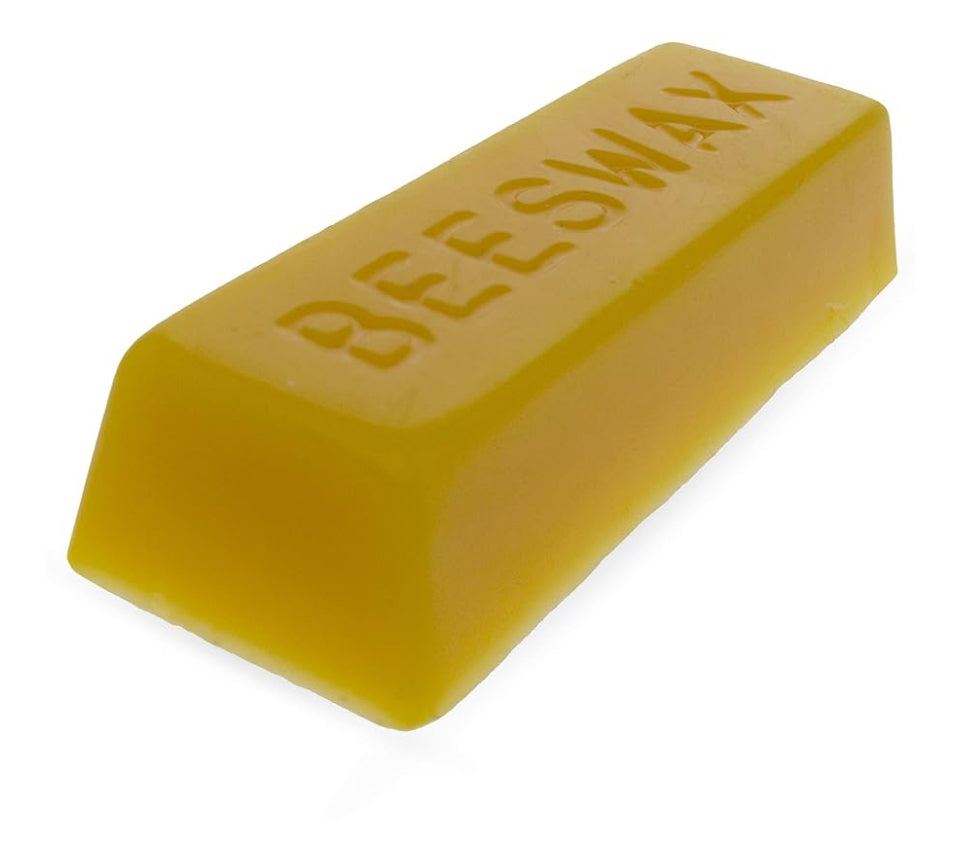
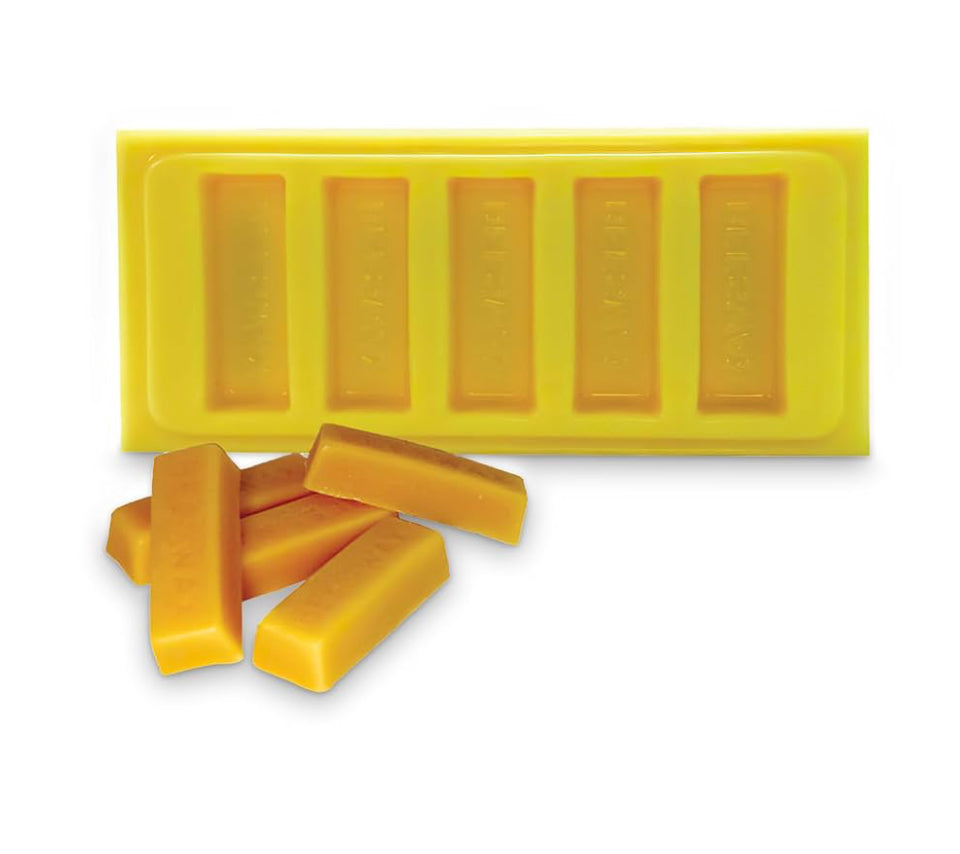
Beeswax bars - all-natural from the farm 1 oz
Beeswax bars - all-natural from the farm 1 oz
Couldn't load pickup availability
Properties
-
Melting point: Beeswax has a higher melting point than paraffin, making it more heat resistant.
-
Burn time: Beeswax candles burn longer than paraffin candles.
-
Soot production: Paraffin candles produce more soot than beeswax candles, which can contain harmful chemicals.
-
Sustainability: Beeswax is a renewable resource, while paraffin is not.
Popular Applications
-
Candles: Beeswax candles are more durable and burn longer than paraffin candles.
- Cosmetics and pharmaceuticals: Beeswax's heat resistance makes it suitable for these applications.
- Thermal energy storage: Beeswax has good thermal energy storage capacity, making it a potential replacement for paraffin wax in this application.
- Coating Chocolates: Great chefs understand the use of beeswax for glazing sweets in a healthier, natural way.
The possibilities for this product are virtually limitless. Just a few uses include: Balms and Salves, Soap and Candles, Furniture Polish, Leather Shoe Polish, Repair Cuts and Scratches, Sealant and More...
- Balms and Salves
- Wood/Furniture polish and sealant
- Leather shoe polish
- Beeswax Soap
- Beeswax skin barrier for cuts and scratches
- Fire starter
- Ingesting beeswax can improve personal health in many areas
- Beeswax for food protection
- Lubricants
====================
USE ON CUTTING BOARDS
To use beeswax on a cutting board, clean the board thoroughly, then apply a thin layer of beeswax with a soft cloth, rubbing it into the wood grain; let it sit for a bit, then buff off any excess with a clean cloth to create a protective seal; repeat as needed to maintain the finish.
Key points to remember:
-
Clean first: Always wash your cutting board with warm water and mild dish soap before applying beeswax.
-
Apply a thin layer: Use a small amount of beeswax and spread it evenly across the surface.
-
Rub it in: Work the beeswax into the wood grain using a soft cloth.
-
Buff off excess: Once the wax is absorbed, use a clean cloth to buff the board to a shine.
Important considerations:
-
Mineral oil combination: For added protection, many people prefer to mix beeswax with mineral oil to create a more penetrating finish.
-
Regular maintenance: Reapply beeswax to your cutting board periodically, especially when it starts to look dry or worn.
- Food-safe beeswax: Ensure you are using food-grade beeswax for your cutting board.
====================
REUSABLE BEESWAX WRAPS
Making your own reusable beeswax wraps for the kitchen is a fun, eco-friendly DIY project. Here's a step-by-step guide to help you create your own:
Materials Needed:
- Cotton fabric (old t-shirts, fabric scraps, or pre-cut fabric pieces)
- Weeks Beeswax
- Pine resin (optional, but helps with the stickiness and durability of the wraps)
- Jojoba oil (optional, helps soften the wax)
- A baking sheet or parchment paper
- An iron or oven for melting the wax
- Paintbrush or a foam brush (if applying the wax manually)
- Scissors for cutting fabric into desired sizes
Instructions:
1. Prepare the Fabric
- Cut your cotton fabric into the sizes you want for your wraps. Standard sizes are about 8x8 inches for smaller wraps and 12x12 inches for larger wraps, but you can customize based on your needs.
2. Preheat the Oven (if using)
- Preheat your oven to about 200°F (93°C). Line a baking sheet with parchment paper to protect the surface and to make cleanup easier.
3. Prepare the Wax Mixture
- In a double boiler (or a heatproof bowl over a pot of simmering water), melt the beeswax pellets. Add about 1 tablespoon of pine resin and 1 teaspoon of jojoba oil for every 1/4 cup of beeswax. The pine resin helps the wrap stick better, while the jojoba oil adds softness.
4. Coat the Fabric
-
Using an iron: Place the fabric between two pieces of parchment paper. Sprinkle the melted beeswax mixture over the fabric and then iron over it to melt the wax and spread it evenly across the fabric. Keep the iron on a low setting and ensure the wax melts evenly.
-
Using the oven: Place the fabric on the parchment paper on the baking sheet, then drizzle the melted beeswax mixture over the fabric. Put it in the oven for about 5-10 minutes until the wax has melted and soaked into the fabric. You can use a paintbrush to spread the wax evenly over the fabric if needed.
5. Set and Cool the Wraps
- Once the fabric is evenly coated with the wax, remove it from the heat source. Allow the beeswax wraps to cool for a few minutes, then hang or lay them flat on a surface to cool completely.
6. Trim the Edges (Optional)
- If needed, you can trim any excess fabric or uneven edges once the wraps are cool.
Tips:
- Storage: Store your wraps in a cool, dry place. Avoid leaving them in direct sunlight or heat, as this can cause the beeswax to melt.
- Cleaning: When the wraps get dirty, simply wash them in cold water with a mild soap. Avoid using hot water, as it could melt the wax.
- Rewaxing: After a few months of use, you may need to rewax your wraps. Just repeat the process above to reapply the beeswax.
These wraps can be used for wrapping food, covering bowls, or even as a sandwich wrapper. They're an excellent, sustainable alternative to plastic wrap!